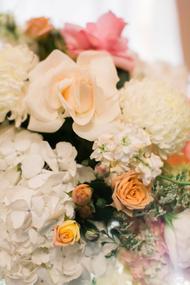
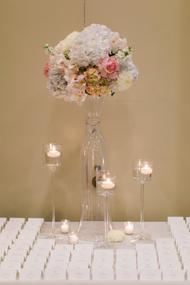
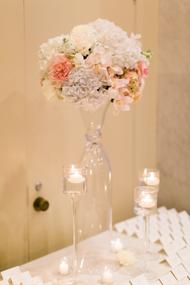
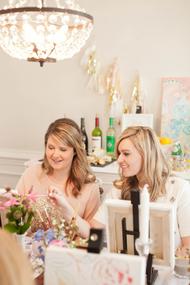
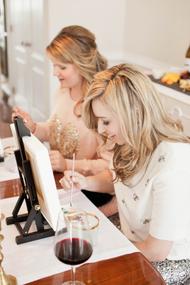
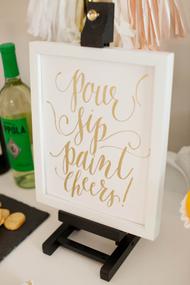
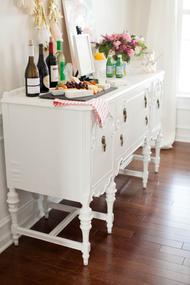
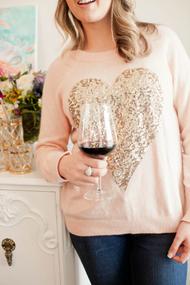
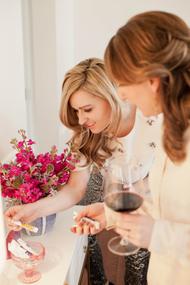
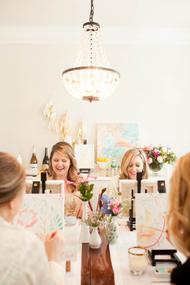
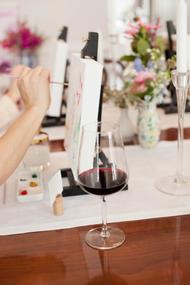
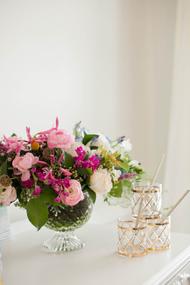
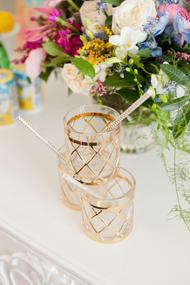
I am all for any excuse to get together with my favorite people but especially if it involves wine and cheese… and painting. Tami O’Malley crafted just such an event – a coming together of friends to do something creative with photography by Sabrina Nohling and Audra Zaba. It has the usual pretty suspects ( gorgeous florals, a yummy food spread) plus a little something fun and unexpected.
| Share this gorgeous gallery on | |
Photographed by the talented Sabrina Nohling (a wedding and lifestyle photographer) and Audra Zaba (product photographer) and set in the backdrop of my modern meets traditional dining room, our vision was to create a inspiration backdrop for other women to connect with their girlfriends over a glass of wine and an evening of laughter spent while creating lovely, abstract, organic paintings.
The chic transitional dining room of designer and stylist Tami O’Malley, served as the perfect backdrop and mixed pretty vintage furniture pieces with modern touches for a warm and inviting feel. Our modern take on the traditional wine and paint theme, was to bring in watercolor artist Lauren Dahl, who loose organic nature meets abstract style, allowed the artists to create their own unique masterpieces, instead of cookie cutter designs.
The overall goal was to inspire women to create an event in which they can celebrate, connect and create something beautiful together.
[dotted]

Gallery Canvas, 10 x 10
Small Display Easel
White Acrylic Paint
Watercolor Paints
Small Pointed Brush, Size 1 for detail work
Large Flat Brush, Size 10 or 12 for covering large areas
Gold Pen

 Connect with your blank canvas.
A white canvas can be super intimidating! So take some time to look at it, and kind of plan out your idea. One thing I always do before beginning a painting, is to paint the entire canvas with a washy clear neutral. It really does make the canvas less intimidating, and get’s you going. Not overly wet, just a little damp wash across the canvas. A washy clear neutral could be created by using your largest brush (to cover more of the canvas quicker), and mixing a tiny tiny small amount of paint (possible a color you will be using most), with 90% water. You will later be covering all this up, but it’s not pointless. In this step, also consider where in your canvas you want your focal area to be, and what color palette you intend on using.
 Outline Large Nature Inspired shapes.
Outline large, organic/nature inspired shapes with light colored paint. Think about flowers, leaves, branches, etc. Draw a simplified version of that on your canvas, in three different areas. Three is an odd number, and will help carry the eye around the canvas.
In this step, begin with watered down paint, so that you can easily wipe away if it’s not the placement you like. But when you’re ready, mix about 60% white paint, with 40% of watercolor paint. With a thin brush, draw your shapes out. For example, a fern leaf, could become an arched line, with oblong circles surrounding it. We are used to drawing dark outlines, and filling in the inside with a light version, so for this painting, ignore that.
 Address the remaining empty canvas space with playful markings.
Fill in empty canvas space (not empty space within shapes you created in the first step, but empty space beyond that), with smaller organic/nature inspired shapes, and whimsical patterns. Use your small brush, with a 50/50 water to paint ratio. Be quick, trust your initial placement idea, and accept imperfections.
These mark makings could be a smaller version of shapes you already have, or something new. I like to do abstract branches, and groupings of dashes. For this step, use the same thin paint brush. But, darker colors. Here, you are essentially creating small pockets of canvas space that will later be addressed with washy water colors.
 Coloring in the lines, unleash your inner child.
Be playful, and be childlike with your choices. Go back to when you were five years old, and you loved coloring in the lines. It’s almost therapeutic. Like I said in step one, ignore the concept of dark outlines, and lighter insides. Instead, embrace the opposite of that. Fill in all shapes with either 1. Darker versions of the light outline, or 2. Soft colors that are opposite of the outline color.
Mix it up, and try both.
For example, if you created an outline in a light pastel green, then try filling in the inside of that shape with a pink pastel color (since green and red are opposite on the color wheel).
 Color outside the lines while leaving tiny borders of white space all around.
Think Ombre, washy, and free. Think of this step, as if all existing lines and shapes are buildings, and with step 4 (this step) imagine that a river as leaked into the city, filling in all the nooks and crannies. Except, leave about 1-3 cm of space between your soon to be paint, and the existing shapes. A gap is playful, and is one of the key elements in this painting. Start by filling in the empty space with a dark color, then then use only water, to help spread the color throughout.
 Finishing Touches.
This is the final step, and will give a ton of luxury and shine to a canvas. Use gold leaf, OR the deco color Premium Gold Leaf Pen. Outline some of your existing marks, or create new ones. It’s okay to have some larger marks this time.
Photography: Sabrina Nohling Photography | Photography: Audra Zaba | Design And Styling: Tami O'Malley | Florist: Lemondrop Designery | Invitations: Michaels | Make-up : Toni Fisher | Calligraphy: Studio Albers | At Home With Designer/Stylist: Tami O'Malley | Decor: Joann Fabrics | Hair Styling: Leana Killham | Paint Project : Lauren Dahl
Join The Conversation
favorite (0) share share (0) pin (0)


